
Based on the premise of this blog, you might assume I will blindly tout the perfection and benefits of every single recipe in my chosen author’s cookbook. I adore Ree Drummond (even more so since meeting her), respect Alton Brown’s scientific genius, and think Joanna Gaines is an amazing all-around woman, designer AND cook. But sometimes I just gotta go with what makes my life easy!
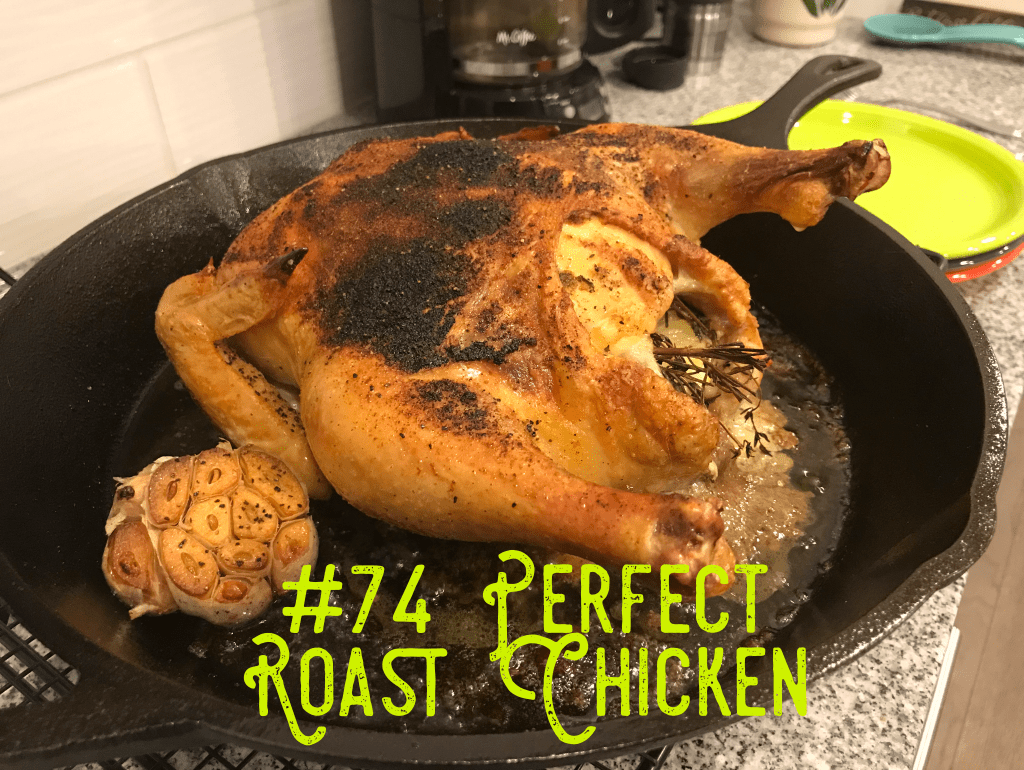
Case in point, the humble chicken. There are at least 20 recipes for chicken in Magnolia Table, cooked in nearly every imaginable way: roasting, baking, frying, poaching, you name it! But did I hear pressure cooking? No I did not. And that is a mistake. Currently I have lots of time on my hands, being a stay-at-home type for a few more weeks. Normally however, I do NOT have time to mess around. Dinner needs to be on the table with a minimum of fuss at least four nights a week. When I saw the title of Recipe #74, Perfect Roast Chicken, I thought, “Ah ha! Challenge accepted!” That’s a lofty claim Miss Jo, and one I do not take lightly. To me, “perfect” is not merely defined by juicy meat and crispy skin, it also means easy and fast. Here’s how Battle Chicken played out…
In the Red corner, weighing in at 3.5 pounds, we have Perfect Roast Chicken, henceforth known as “PRC”, coached by Joanna Gaines! Her stats are: prep time – 20 minutes, plus time for multiple hand-washings; chill time – OVERNIGHT, or at least 8 hours; cook time – 50-60 minutes; rest time – 10 minutes. Bottom line: it’s not dinner, it’s an EVENT!
To complete this recipe, I had to plan for days in advance just to get my whole chicken thawed properly. There were no alternate instructions for making PRC with a frozen or partially frozen bird. The reason why becomes obvious shortly.
Step 1: The night before (or in my case, the morning of) the day you plan to serve PRC, get the chicken emptied of giblets and thoroughly dried. Also, wait several hours because you probably forgot to take the butter out of the fridge and get it softened. NO, the microwave is a bad idea, because there is a fine line between “room temperature” and liquid when using this method! I know you’ll try it anyway, so go ahead, you’ll see!
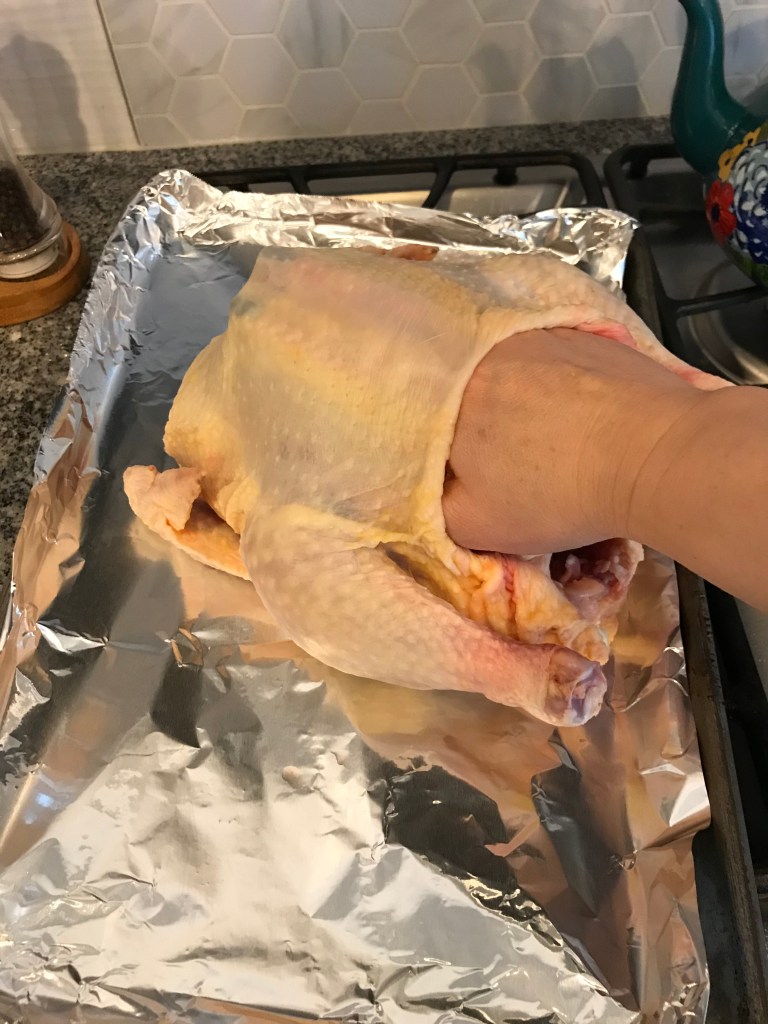
Step 2: Mix up the soft butter with your fresh herbs (or dried if you must, but adjust the measurements; dehydrated quantities are NOT equal to their fresh counterparts!) and lemon zest. Now here’s the fun part. You have to Hannibal Lecter the poor chicken, peeling back the skin – I needed to use kitchen shears to separate it without damaging the meat – so you can get your hand underneath and massage in the butter mixture. Like so:
Step 3: Wash hands.
Step 4: Wash hands again. Honestly, you can’t wash your hands enough when working with raw poultry, especially when you compound the mess by having butter all over your fingers.
Step 5: Further violate the innocent chicken who probably never did anything to anybody while alive, and fill the giblet-less cavity with a lemon and more fresh herbs. Pro-tip (ha, not really, it’s just a tip from me!): Buy the “Poultry Bouquet” package in the fresh herb section of your grocery store. The one I found had most of the herbs she called for all in one container for one price vs. paying for three separate packs of herbs. Most of the time the excess goes bad anyway before I can use it, and this allowed me to use up the whole container in one recipe. Score! Now dump what appears to be WAY too much salt all over the outside of the bird.
Step 6: Stick the stuffed and buttered, high-sodium chicken back into the fridge, uncovered in a rimmed pan. This is important, but goes against everything I learned growing up, namely, never leave anything open/exposed inside the refrigerator. Just remember what you’re trying to accomplish: drying out the skin so it will be crispy! Covering the dish with plastic or any kind of lid will keep the skin rubbery and ruin the “perfection” of the PRC.
Step 7: Wait… Keep waiting… Ok, the sun has gone down and you can finally go fetch that sheet pan! Hooray, we were all getting peckish. Oh wait, better get a snack, there is still a long way to go…
Step 8: Crank the oven up to 450 degrees (keep in mind broiling is only about 500, so you need this oven screaming hot.) You will now put your mind and your blood pressure at ease by brushing off all the salt that was undissolved on the surface of the chicken. Trust, enough soaked in to give it flavor! You can either leave the PRC on the sheet pan you used for chilling time, or like me, transfer it to your nearest cast iron skillet. I know cast iron can basically handle the fires of Mount Doom, so I feel most comfortable using it for long periods at high temps in my little home kitchen oven. Roast birdie anywhere between 45-55 minutes, depending on size. Baste with the drippings at 45 minutes for additional skin yum-ifying. Keep cooking until you get to the poultry safe-zone of 165 degrees.
Step 9: Good lord, are we still going?? Yeah. Now, either determine the skin is not yet crisp enough and hit it with the broiler for a few minutes (unnecessary in my case) or take it out to rest for another 10 minutes.
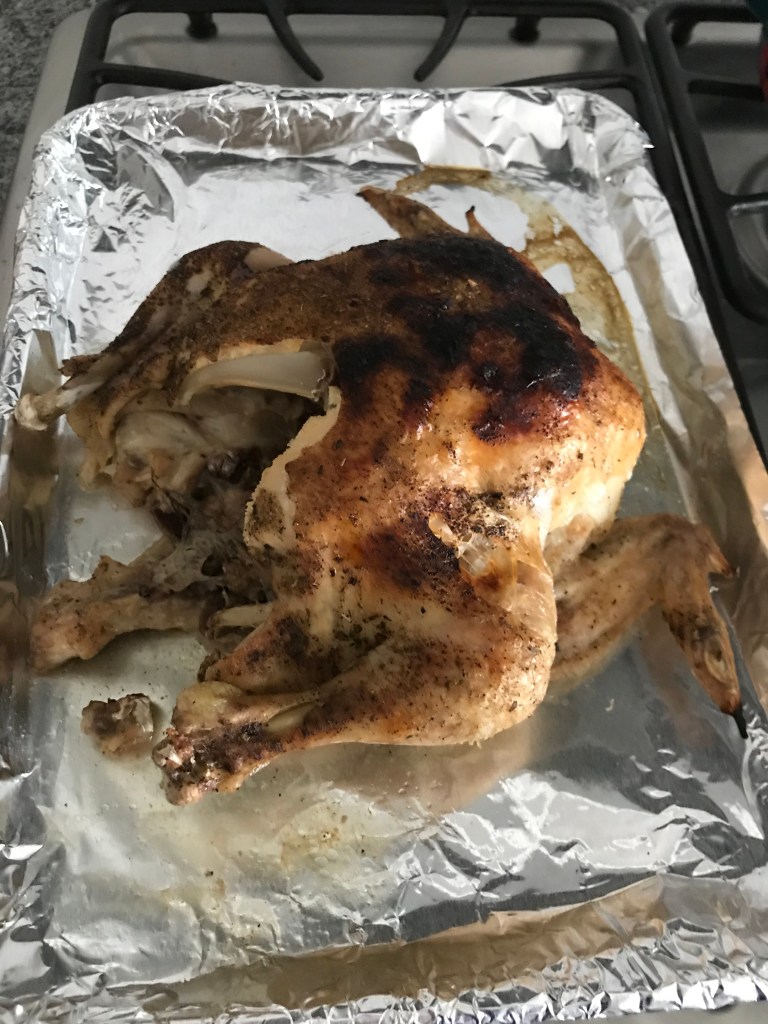
Step 10: Drag your starving family to the table, because it’s finally time to eat. And the result of all this drawn-out preparation? A pretty darn delicious chicken, but “perfect”? I’m not so sure…
And in the Blue corner!! Weighing in at just about 3 pounds, we have Instant Pot Chicken, stage name “IPC”, brought to the ring today by Random Internet Contributor in the IP Community! IPC’s stats are as follows: prep time – however long it takes you to get it out of the package and sprinkle on dry seasonings; chill time – none; cook time – 56 minutes if FROZEN SOLID, and if thawed, it still didn’t overcook, plus 4 minutes broiling; rest time – none, included in the Instant Pot slow-release depressurization.
Step 1: Unwrap chicken. Season with salt, pepper, garlic powder, seasoned salt, whatever; just make it taste good!
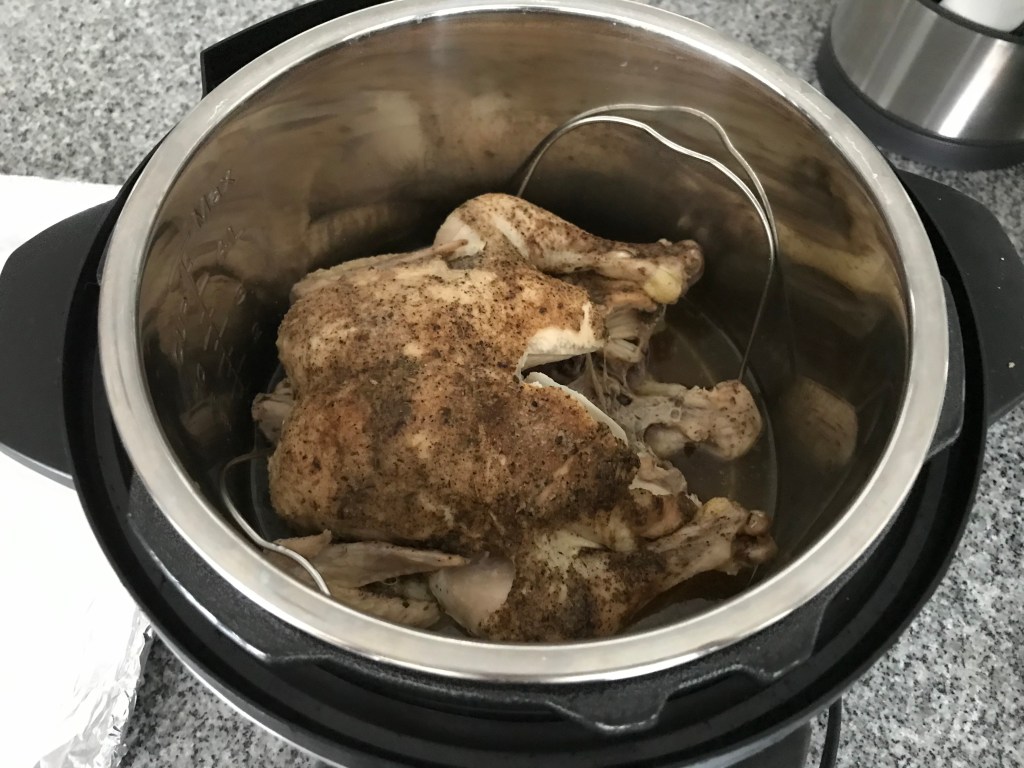
Step 2: Add a cup of water to the IP, drop bird on the rack, lock down lid and set manual timer for 50-56 minutes.
Step 3: Wash your hands! Now watch an episode of your favorite TV show.
Step 4: After the slow-release time of about 10 minutes, quick-release the rest of the pressure and lift the perfectly cooked, yet soggy, bird out of the IP and place on a foil-covered sheet pan to broil. I didn’t think this had a snowball’s chance of working, but 4 minutes under the broiler and the skin was perfectly crisped! Amazing…
Step 5: Rejoice! You magically made at least a quart of chicken broth, without lifting a finger of additional effort. Simply strain the liquid in the IP through a sieve into a mason jar for future use.
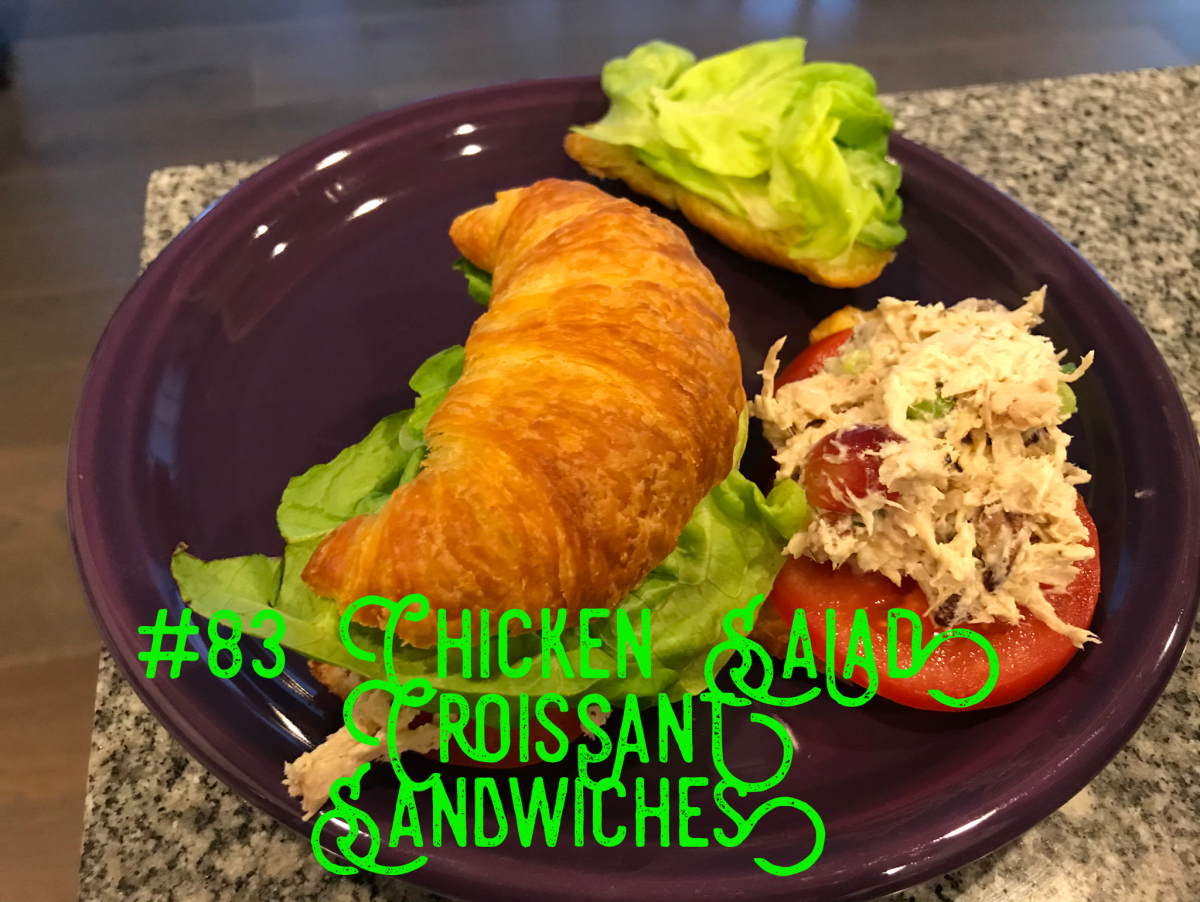
Advantage: IPC!! Not only did I get the bonus broth, but I had only to wash one pan, and I didn’t even have to carve this girl. The meat was so tender I just “wiped” it off the bones, resulting in what I call a “PERFECT” chicken! The results became the gorgeous Chicken Salad Croissant Sandwiches pictured at top. So who is the clear winner here?
Me.
